I've seen this tutorial by shmorkin, and instantly ran into trouble. If I was doing a fantasy-map, sooner or later, I'd like to have a good topology map, which can be done with the use of some simple steps and filters in GIMP, but then I'd have nation borders that wouldn't make sense, or I would have to indulge into a copy&paste orgy, just to make that mountain pass follow the border. Also I usually don't write tutorials.
Now since realistic is such a bad word in fantasy (your deserts are in the wrong places, also how is that sea of fire affecting the overall climate?), I'd suggest we want believable maps.
Also Political borders mostly tell lots of little stories, something that will argument your writing-project a lot, when done right.
Before I start to explain my workflow, I want to add, that I'm using the GIMP, version 2.9.1 which I grabbed from git-hub and compiled myself… so my version might behave different from yours..
I usually start with generating topography by using
Filters → Render → Noise → Plasma
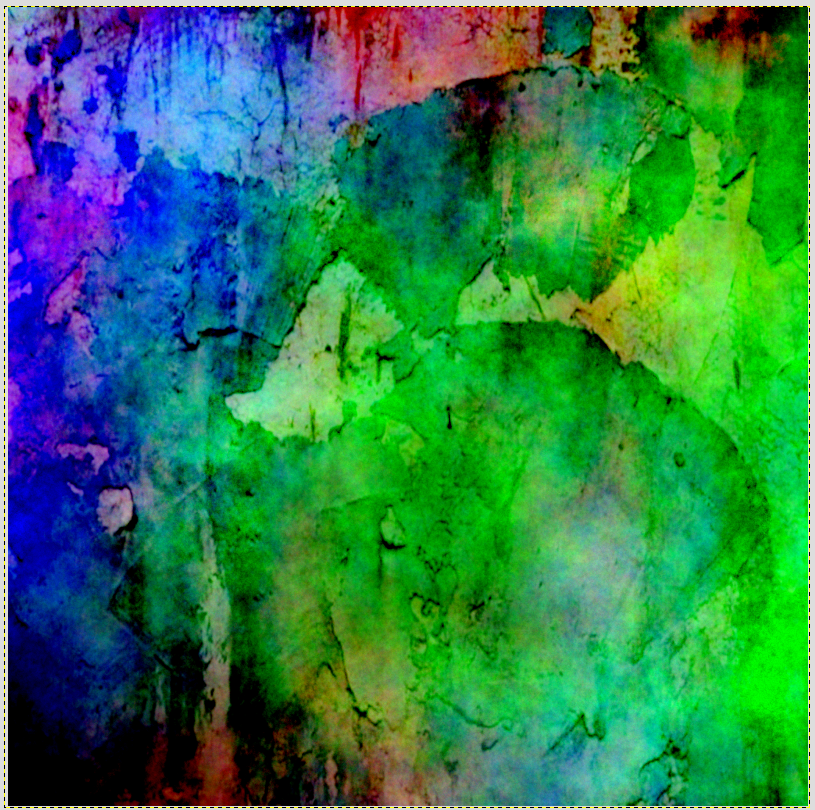
this is also the point where I tend to throw interesting textures I found in the image, in the hope of being able to use some parts of it.I used one from this page just for demonstration purposes. Also this is highly optional - the plasma will provide a good basis, but you will notice that the map patterns tend to be rather monotone after a while. I overlapped the texture with Burn to preserve the grain of the plasma.


After that, merged the two layers (I tend to use the new from visible option, but merge should be fine too), and used
Filters → Render → Noise → Difference Clouds
what could work on it's own, but this way, it preserves some information from the previously used pictures. In the result, you can already see hints of landmass and sea, also there are some potentially interesting features, we probably could reinforce before the next step.

I took a copy of the new layer and ran
Colours → Desaturate
on it, to get a feeling of where the low and high parts would be, and I liked the resulting images, so I kept them for later.


After that I ran the - in my opinion - most important tool for this
Distorts → Emboss
This is where you get to define if your map is a Lunar crater-landscape, or a group of islands with hills and lakes. Now my first try resultet in something that looked like a post-apocalyptic desert to me, so I added one of the previous desaturated images onto it (again via Burn, since it's messiness tends to create additional artefacts - we want lots of artefacts for our map). If I hadn't kept some of the desaturation-results from above, I could have run Difference Clouds again, followed by Emboss. After getting a feel for how Emboss works, one could also paint certain features by Hand. After looking at my result for some time, I decided to run Difference Clouds on a copy from visible anyway, and overlay it to the older Image - in this case with Darken Only, because It looked better than the other options.


At this point, we could be proceeding with adding more effects, more Noise, until we get the result we want, also if none of them are satisfying, raising contrast and/or blurring - followed by newly embossing. It might also be a good Idea to apply low-opacity paintstrokes to undesired regions. After all that, I usually run
Colors → Auto → White Balance
to lighten the image up a bit for the next step.

Looking at this Image makes me want to add some craters, and turn it into a rather desolate landscape, but for the purpose of this tutorial, we want more limiting terrain features, and therefore a coastline. I decided to start with the lighter part on the left, that already looked like water.
This step mainly consists of manually drawing edges with the Free Select Tool, following the generated terrain-features to get a 'believable' look. Also I made a new layer for every shape I drew here.


Since I am lazy, I clicked the rest of the land together using the Scissor Selection Tool, which is a lot faster, but provides far less detailed results. I also added some mall islands to the coasts of the bigger landmasses.
The whole thing was somewhat tightly packed, also It's good visible where I ran out of motivation, so I decided to crop the whole map, and turned it 90° clockwise to get a good format again. (the original image was 1600*1600, now it's 1600*1000)

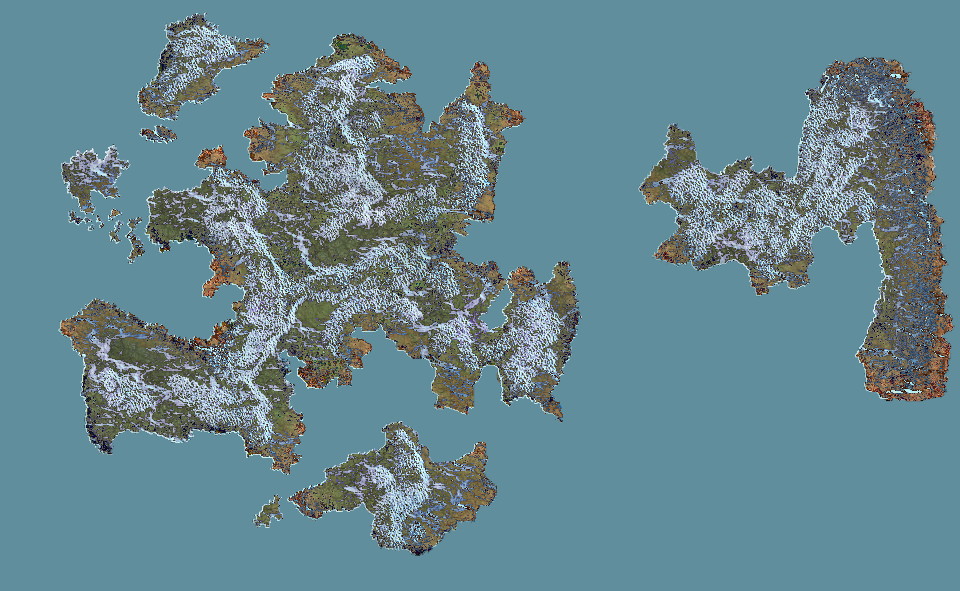
Now let's take a look of the terrain we are going to work with. For this I merged all the black outline layers together, selected them with the Select by Colour Tool, and cut their shapes out of the white placeholder layer, I used as a background.
Of course one could do this the other way around, but I find it easier to review the final landmasses before moving on.

Next, I'm checking the texture for things that should rather be sea, as well as some weird landmarks, like the two canyons, meeting at a right angle on the upper left landmass.

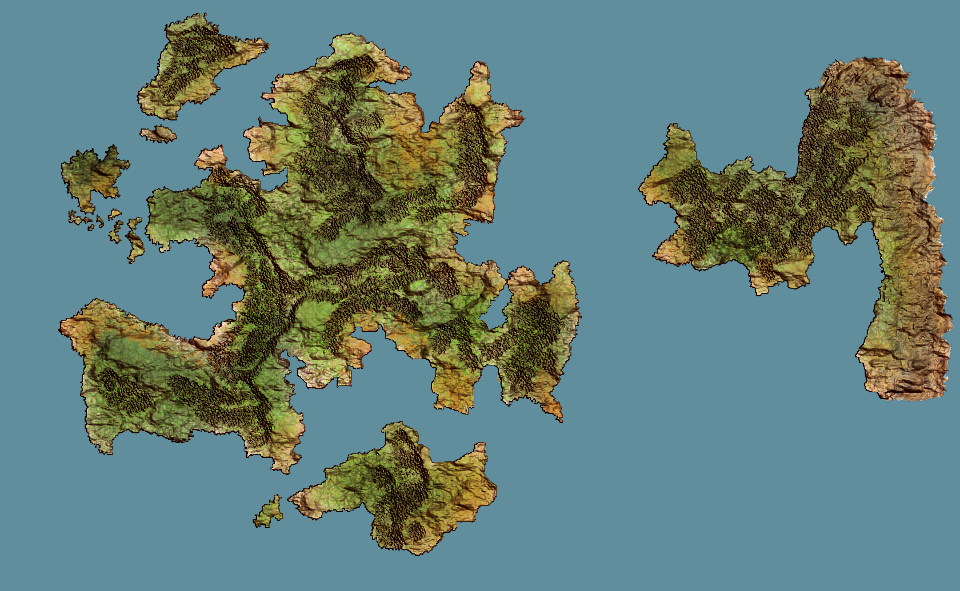
 After that, I take the last image that had colours and overlay it with the effect that looks most pleasing - in my case it's Grain extract. I deactivate the white layer and generate a new layer from visible, and adjust it's colours with Hue-Saturation until it's all shades of brown and green. I added some patches of red for a slightly surreal fantasy element. I also cut some additional patches out of the white layer, because it looked like there would be some really interesting places.

Now, there are still some white patches, and a lot of things to correct, but also there are a lot of terrain features that could potentially tell a story or two. (I also made some last minute color corrections)


Since this is getting really long, I'd prefer to make this a two-parter.
Next time I'm distributing resources and name terrain features, to get our initial population seed - the rest should happen automatically.
Keine Kommentare:
Kommentar veröffentlichen